
Images play a crucial role in making a PowerPoint presentation visually appealing and engaging. However, there might be times when you need to flip or mirror an image to make it fit better with your presentation’s layout or design. Thankfully, PowerPoint provides a straightforward way to do this.
Whether you need to create a mirror image for a creative effect or simply want to flip an image to ensure it aligns with the text correctly, the process is simple and quick. Even if you’re a PowerPoint novice, you’ll be able to master this skill in no time.
In this article, we’ll guide you through the steps of flipping and mirroring images in PowerPoint. You’ll learn how to manipulate images to suit your presentation, enhancing the visual impact and professional look of your work.
1. Open Your Presentation and Select the Image
Open the PowerPoint presentation and navigate to the slide containing the image you want to flip or mirror. Click on the image to select it.
2. Access the Format Options
With the image selected, click on the “Format” tab in the PowerPoint toolbar at the top of the screen. This will open a range of options for editing your image.
3. Find the Rotate Option
In the “Arrange” group of the “Format” tab, you’ll see the “Rotate” option. Click on this to open a dropdown menu.
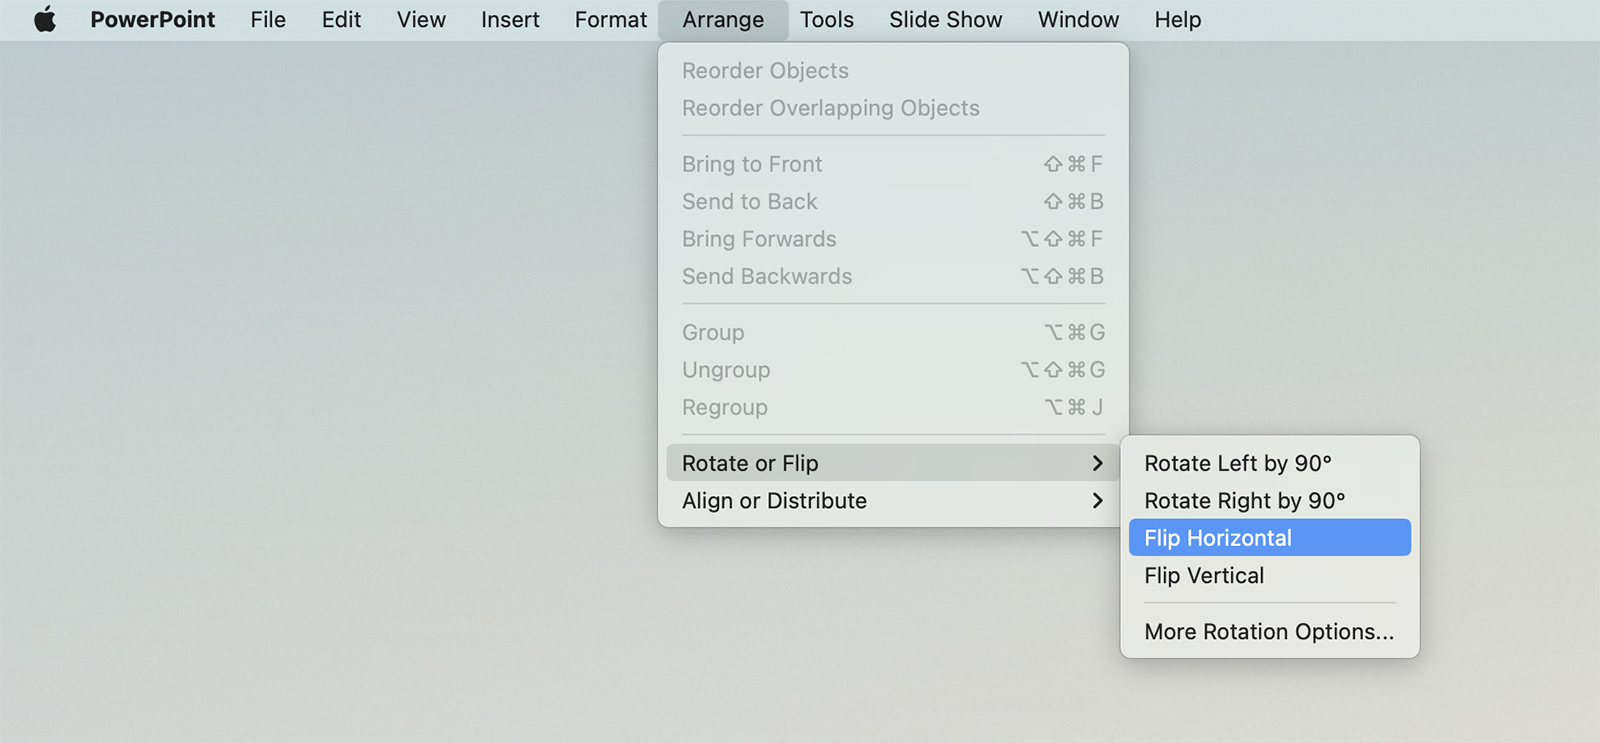
4. Choose Your Flip Option
In the “Rotate” dropdown menu, you have two options for flipping an image: “Flip Vertical” and “Flip Horizontal”. Choose the one that suits your needs. “Flip Vertical” will flip your image upside down, while “Flip Horizontal” will create a mirror image.
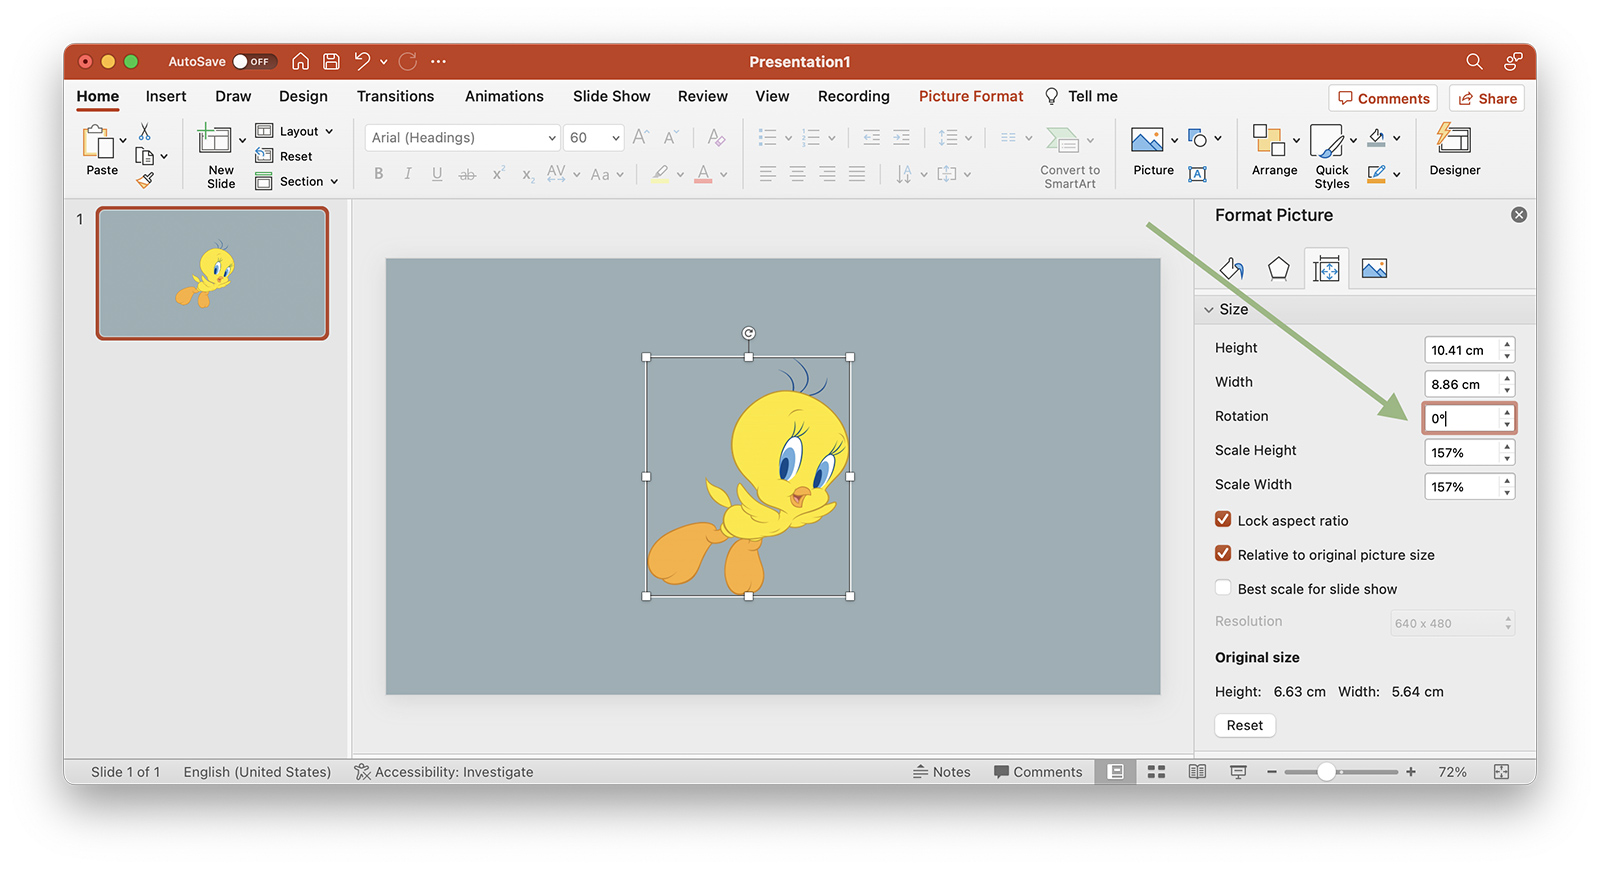
5. Adjust Your Image as Needed
After flipping or mirroring your image, you may need to reposition or resize it to fit your slide. Simply click and drag to move the image, or use the handles around the edge of the image to resize it.
Why Might You Want to Flip an Image in PowerPoint?
There are several reasons why you might want to flip or mirror an image in your PowerPoint presentation. Here are a few common scenarios:
1. Correct Image Orientation
Sometimes, an image may be in the wrong orientation for your presentation. For example, a photograph might be upside down, or a scanned document might be sideways. Flipping the image can correct its orientation, making it easier for your audience to understand and interpret.
2. Improve Composition
Flipping an image can sometimes improve the composition of a slide. For example, if you have an image of a person looking to the right, but you want them to appear to be looking at the text on your slide, you can flip the image horizontally. This simple change can help guide your audience’s attention to the most important elements on the slide.
3. Create Mirror Images for Effect
You might want to create a mirror image of a graphic or photo for a visual effect. For instance, you can create symmetrical designs or reflect an image for an artistic effect. This technique can add a touch of creativity and interest to your presentation, making it more engaging for your audience.
Remember, the key to effective use of images in your presentations is to ensure they enhance, not distract from, your message. Use the flip and mirror features judiciously to create visually compelling slides.
Conclusion
Flipping and mirroring images in PowerPoint is a simple yet effective tool to enhance the visual appeal of your presentations. It allows you to customize images to better fit your presentation’s design and layout. By mastering these techniques, you can create dynamic, engaging presentations that hold your audience’s attention.