
Need to wow a client or investor with a business proposal?
Whether you are lacking design inspiration or just need to get work done in a hurry, a business proposal is easy to build with the right Microsoft Word template. A good template allows you to pick a design you like, make modifications, and have your proposal ready to share in almost no time.
Here, we’ll walk through five simple steps to make a business proposal with a Word template. You can even download the one we use here.
1. Pick Out a Business Proposal Template
Creating a business proposal in Microsoft Word starts a solid template that allows for customization. Look for a template that includes the ability to change colors in the file or add your own images.
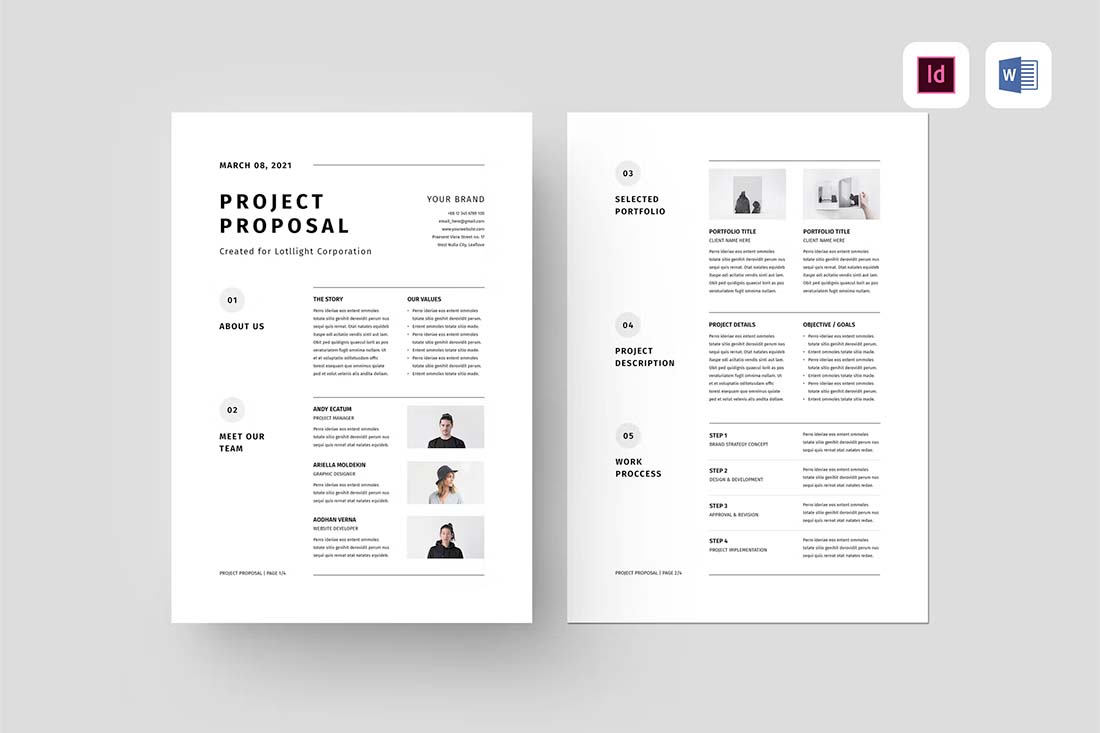
We are using the Proposal | MS Word & Indesign template for this tutorial. (It’s available on Envato Elements along with hundreds of other options.)
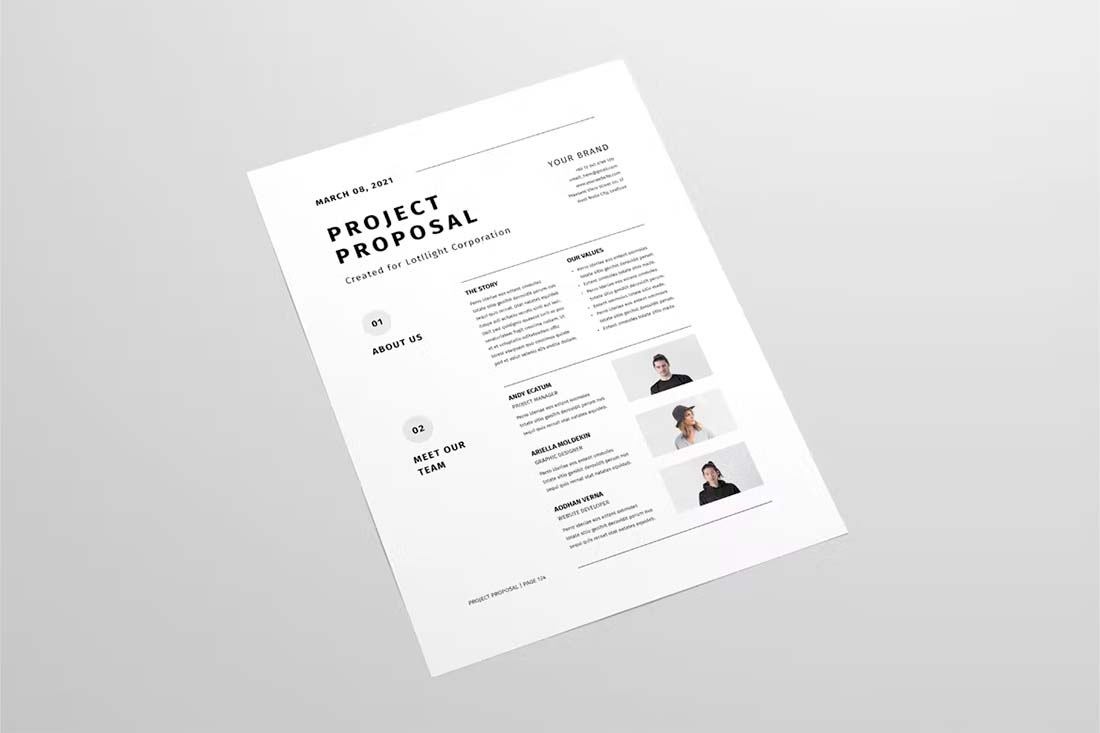
This template is nice because it features a minimal style with clean lines and blocks that are intuitive for reading. There’s also room and placeholders for images and graphic elements if you want to use them as well.
Once you find a template that you like, download the template file to your computer and unzip it.
2. Gather Content
Gather all the content you want to use for the business proposal in one location (this includes images, color swatches, logos, and text elements), then put it all in one folder (or folder set) for easy access.
The design comes together so much faster if you have all the content elements at hand.
Also, take note of the sizes and shapes of photos in the template you choose.
- Will images fit easily in these locations?
- Do the shapes line up?
- Do you have text for all the boxes or will you eliminate some?
Building the proposal will go quicker if the image locations and your files are similar in shape and orientation.
3. Pay Attention to Instructions
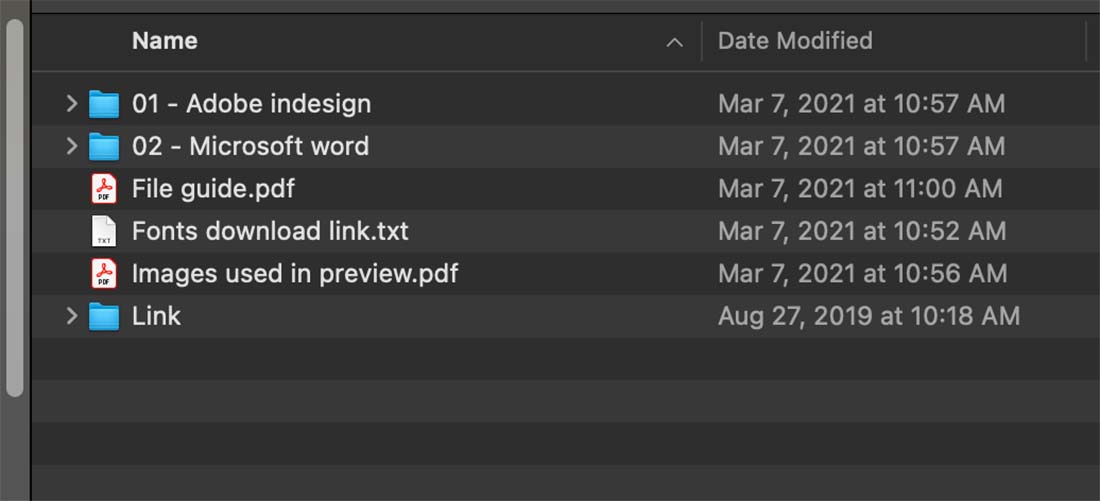
This is an important step: Read all documentation and instructions that come with template files. There will be information about font downloads, image files, and even how to work with elements in the design, such as layers or other elements.
These files often explain how a template was built or how to substitute images or the color palette. Templates can work differently depending on how they were originally built.
The documentation file typically takes only a few minutes to read and can save a lot of time and frustration later.
Reading the documentation will also give you the downloadables you might need such as links to free fonts or stock images that were used in the presentation template. Download these items, if you plan to use them, before you open the template to get started.
4. Substitute Content and Graphics
Now it is time to get to work.
It is recommended to create a copy of the template to work on. That way if you need to go back to the original to look at something or copy an element you can.
Start with changes to the color and font palettes. That way you can get an idea of the scale and feel of your brand elements in the template design. (Note that not everyone will make changes here; you might work with colors and fonts “out of the box.”)
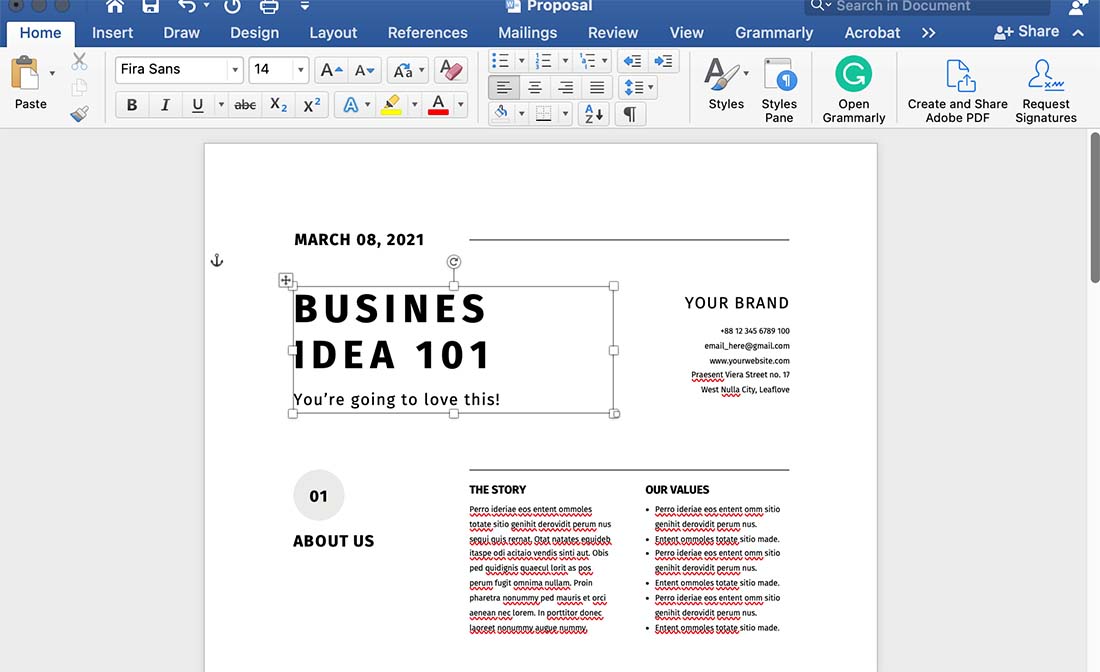
Then, fill in image areas. Most Microsoft Word templates require that you use format tools to place images, rather than drag and drop. This ensures that the shape of the image frame stays intact.
To substitute images, right- or double-click on the shape element (often a gray box) to bring up the format picture menu.
In the fill area, change the fill to “picture or texture fill,” and select an image from your computer. Use the offset tools to move the image within the shape frame.
Repeat until you have placed all of your images. Then delete any image boxes you don’t need.
Next, replace content elements. In each text box, copy and paste or type your text. You can change the size of text elements, font, or color in the way you typically would using tools from the Home menu.
This is vital when using a proposal template: Make sure to replace every blank shape frame and placeholder text element in the document or delete unused elements. (You don’t want to make an embarrassing mistake by leaving unwanted elements behind.)
Go through every box in the document, repeating these steps until all of the content is either deleted or replaced with your own.
5. Proof and Save
Once you get working, remember to save your work frequently. (No one likes to lose work unexpectedly.)
Once you get to a point where you think the business proposal is done, print a proof on your office printer. Read it carefully to ensure you didn’t leave any template elements behind. It’s also a good idea to ask someone else to look at it with a critical eye as well.
Once you are finished, think about what format you need the brochure in for sharing. Will it be printed or shared digitally?
Export the template to the desired format. A PDF is the most versatile format and can be used for print or digital publication.
To save as a PDF, go to File > Save As > and select PDF.
Conclusion
A template is a great starting point for creating business proposals that shine. Just look for a template in the format you are most comfortable with – such as Microsoft Word – edit the content and elements and then share.
The toughest part might be picking out a template from a source such as Envato Elements because there are so many well-designed options to choose from!