One of the things that always ruins a great portrait photo is yellow teeth. With Photoshop, you can get rid of it easily. We’ll show you how it’s done.
Most of the time, yellow teeth in portrait occurs without any fault by the person in the photo. Usually, it happens during bad lighting conditions and even the adjustments you make in the camera as well. Thankfully, Photoshop has a fix for this issue.
In this short guide, you’ll learn how to whiten teeth in Photoshop. This is a very simple 3-step method that you can do without any prior graphic design knowledge.
Let’s dive in.
How to Whiten Teeth in Photoshop
There are many ways you can whiten teeth in Photoshop. For this guide, we decided to demonstrate the easiest method.
Step 1: Select the Teeth
Open the photo in Photoshop. Create a duplicate copy of the image by pressing the Control + J keys on the keyboard. This will help make non-destructive edits to the image.
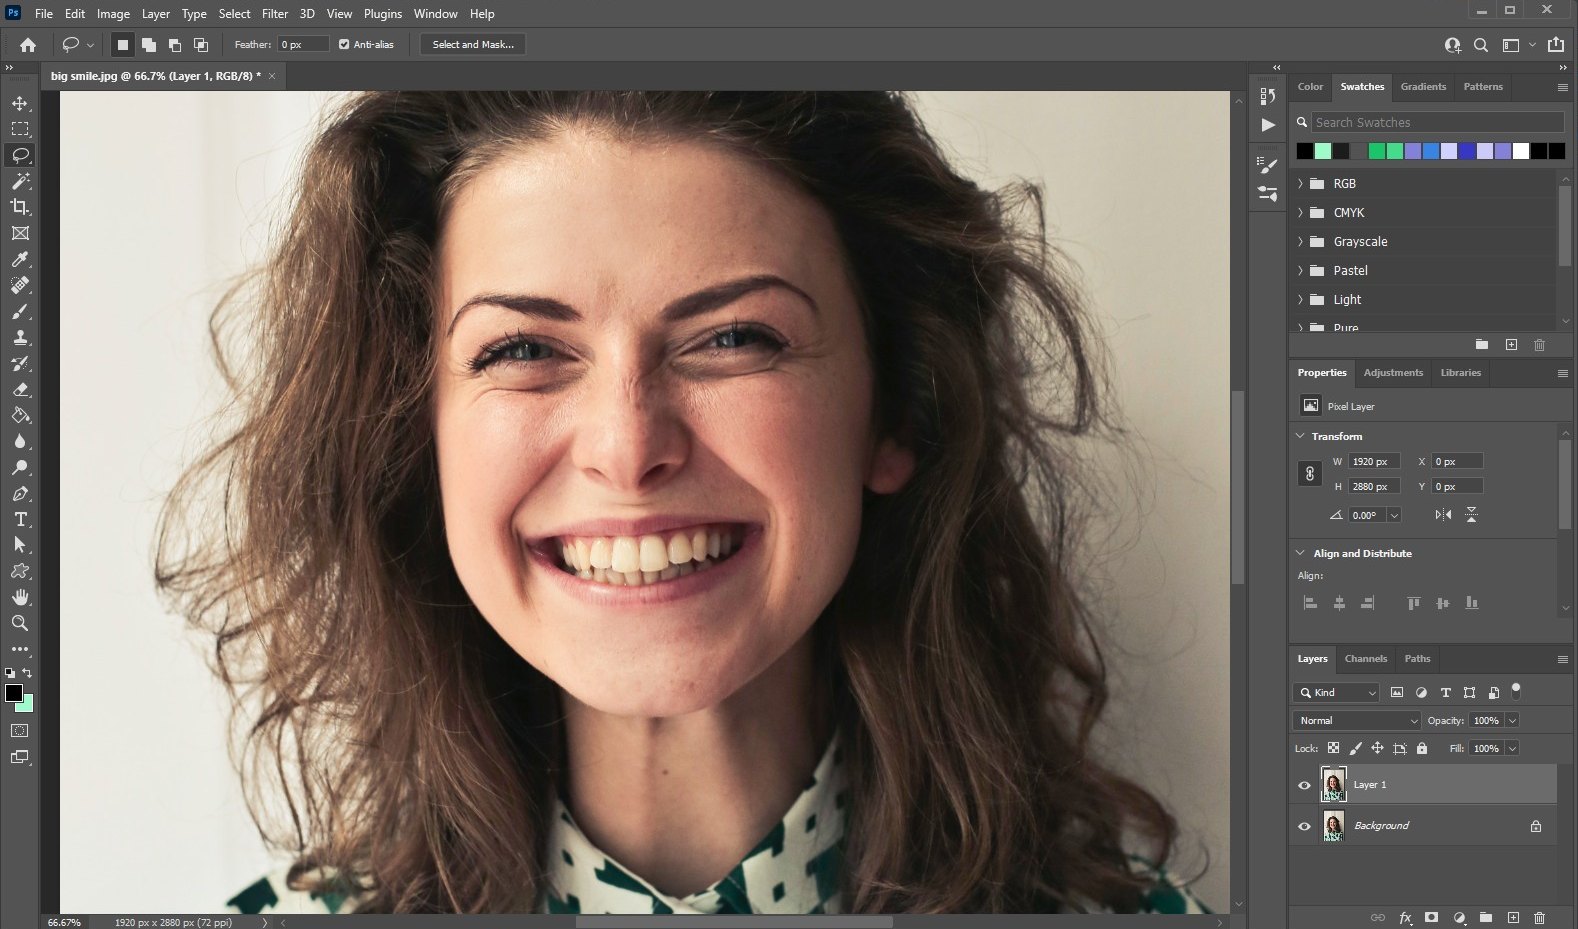
Zoom-in to get a closer look at the teeth.
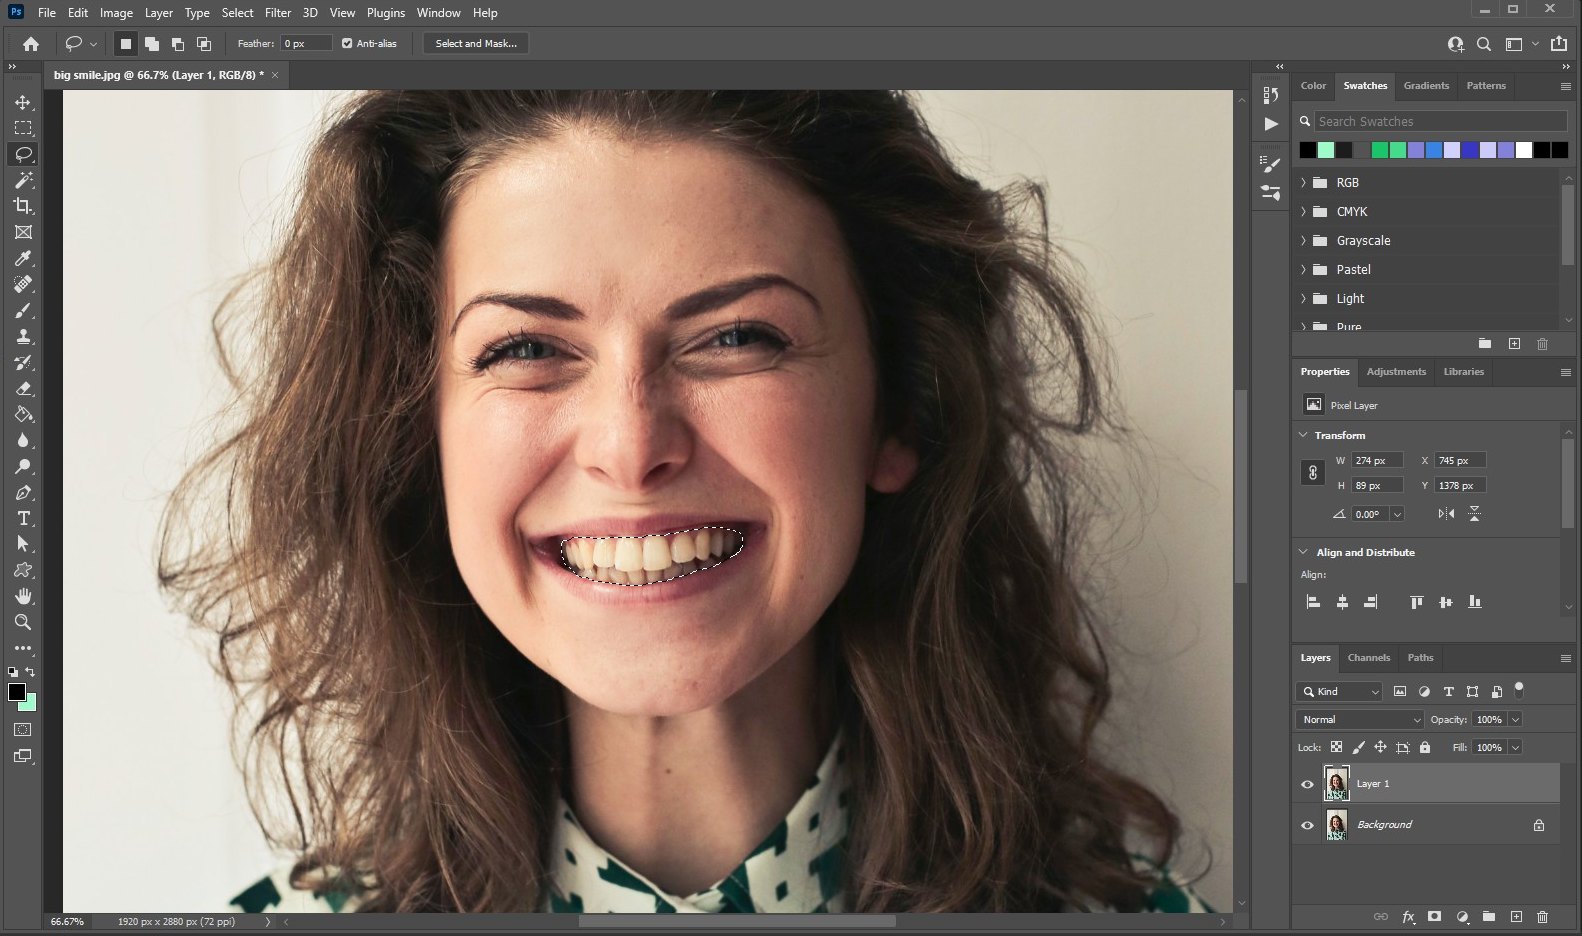
Now make a selection of the teeth. Select all the teeth individually if you can. Or make a basic selection using the Lasso tool, if you’re feeling lazy.
Step 2: Create a Hue/Saturation Adjustment Layer
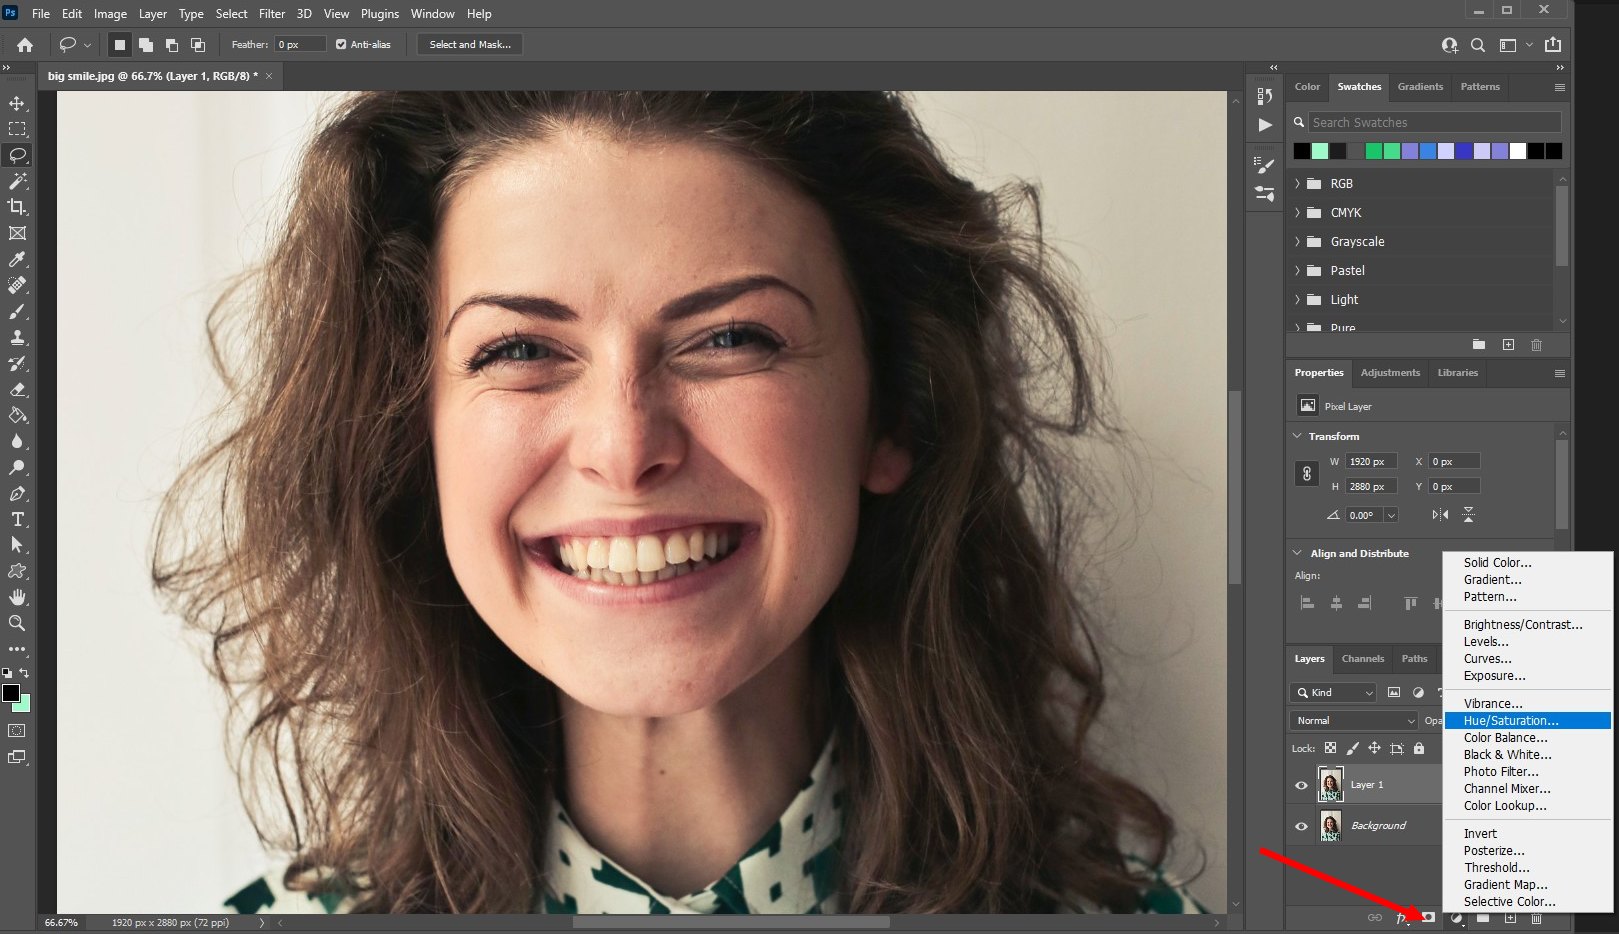
After making the selection, head over to the Layers panel and create an Adjustment Layer for Hue/Saturation.
Step 3: Get Rid of the Yellows
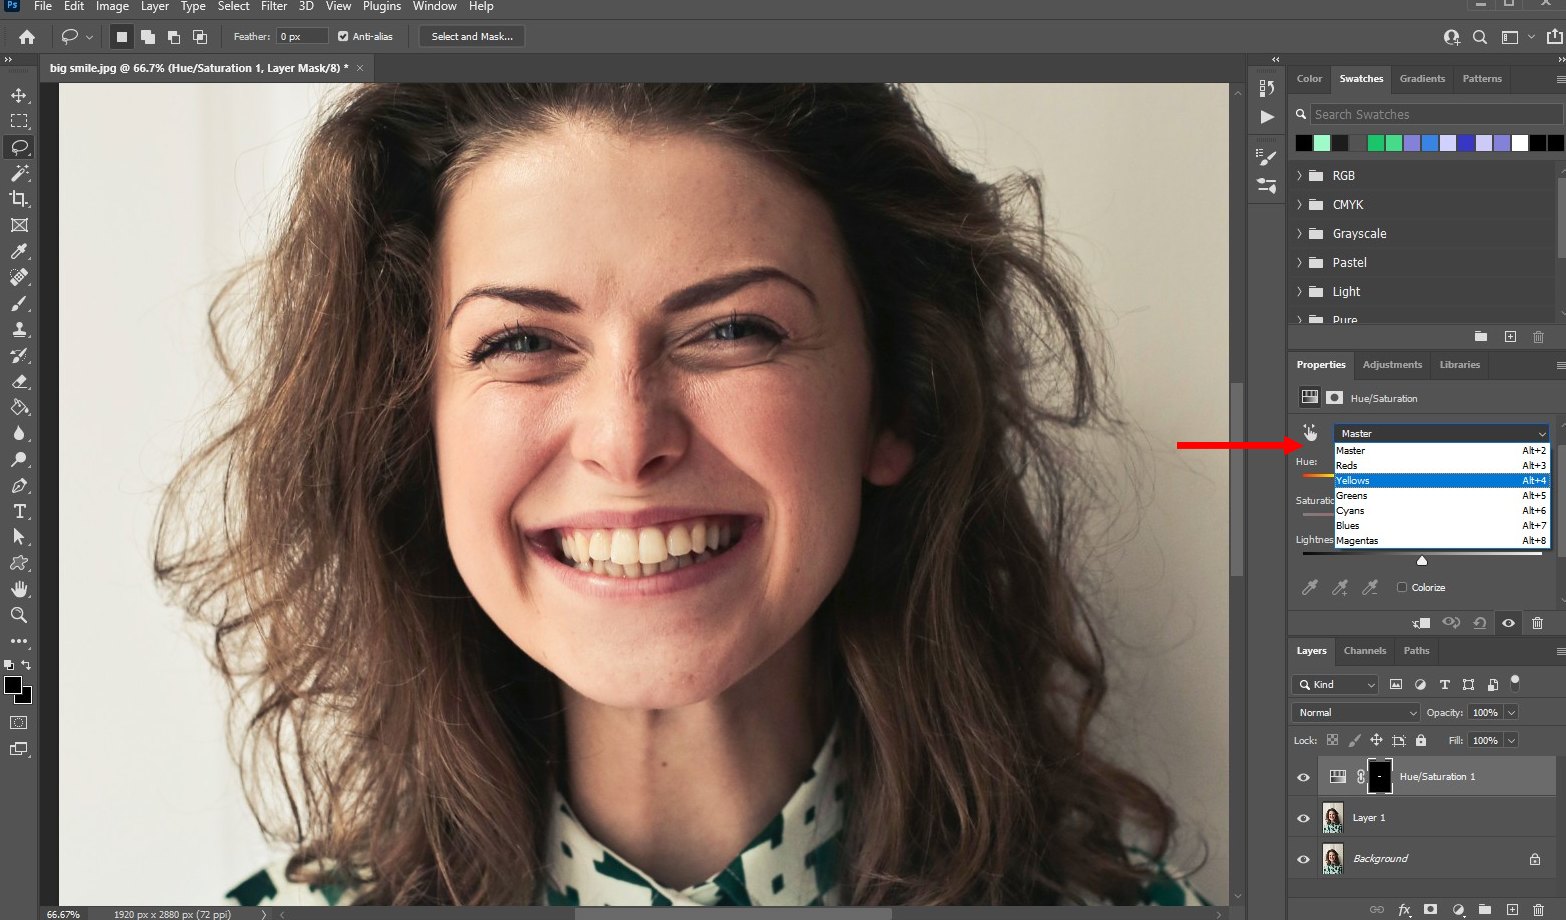
On the Properties panel for the Hue/Saturation layer, select Yellows from the drop-down menu. Because you want to target the yellows on the teeth.

Then, drop the Saturation adjustment all the way down to -100. And you’ll immediately notice the teeth whitening magic happen.
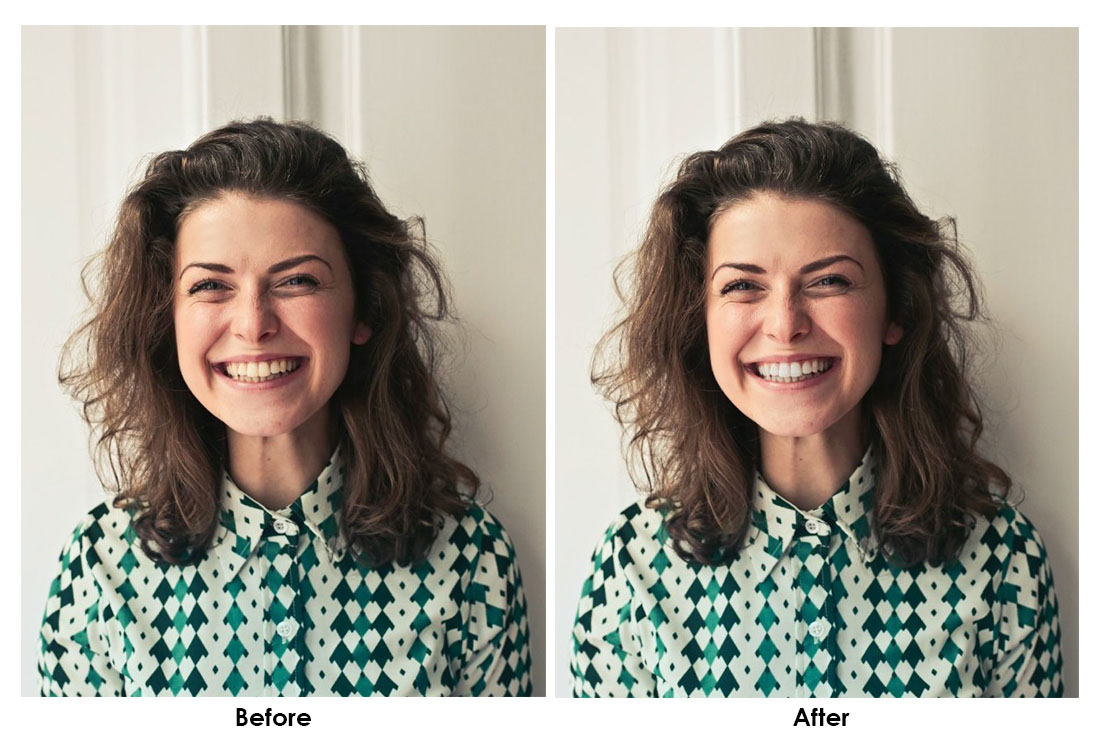
That’s pretty much it. Here’s a before and after photo to show you the difference.
If this method doesn’t work and there’s more work to be done to whiten teeth, you can follow this video tutorial for an advanced teeth whitening guide.
Photo Retouching Photoshop Actions
If you’re working on retouching portraits, you can also use Photoshop Actions to speed up the process. Here are a few worth having in your toolkit.
Skin Retouching Actions for Photoshop
This is a bundle of 34 different Photoshop actions that are designed for improving specific tasks in the skin retouching process. It also leverages AI technology to create more realistic results.
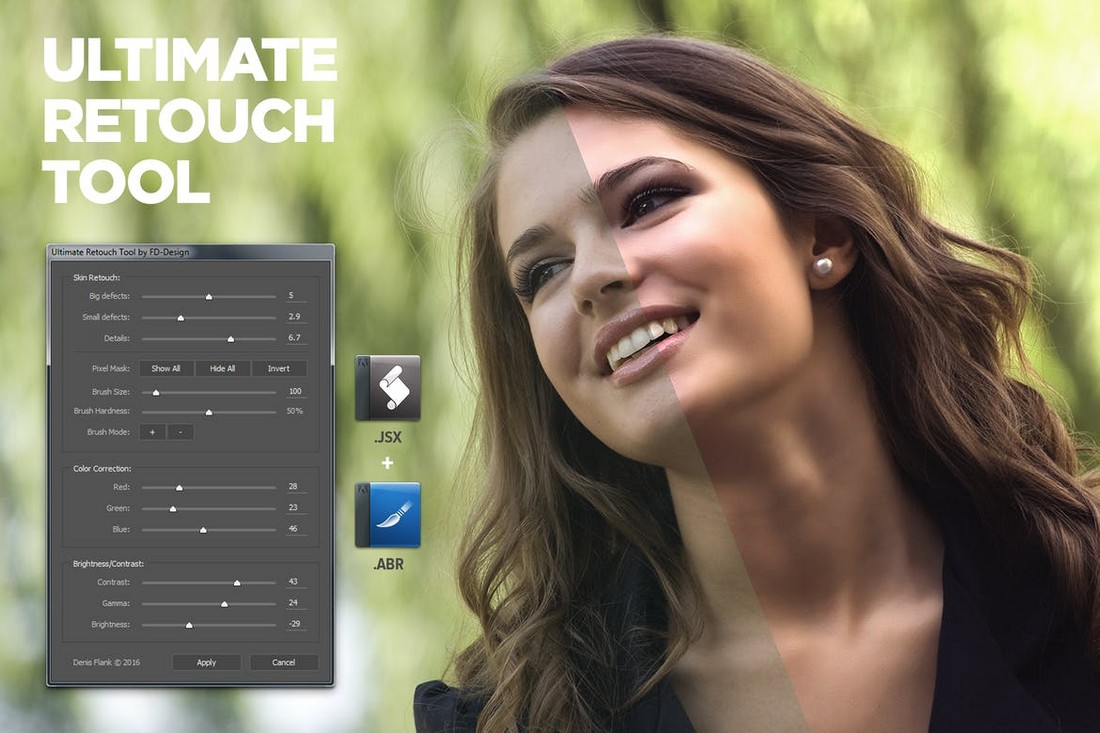
Ultimate Retouch Tool for Photoshop
Technically, this is not a Photoshop action. It’s actually a Photoshop Script plugin that adds a powerful retouching tool to Photoshop. It works with Photoshop CS3 and above.
Skin Retouching Photoshop Action
A quick and simple skin retouching Photoshop action to instantly enhance the skin of your portrait photos. It’s compatible with all versions of Photoshop, including Photoshop CS3 and higher.
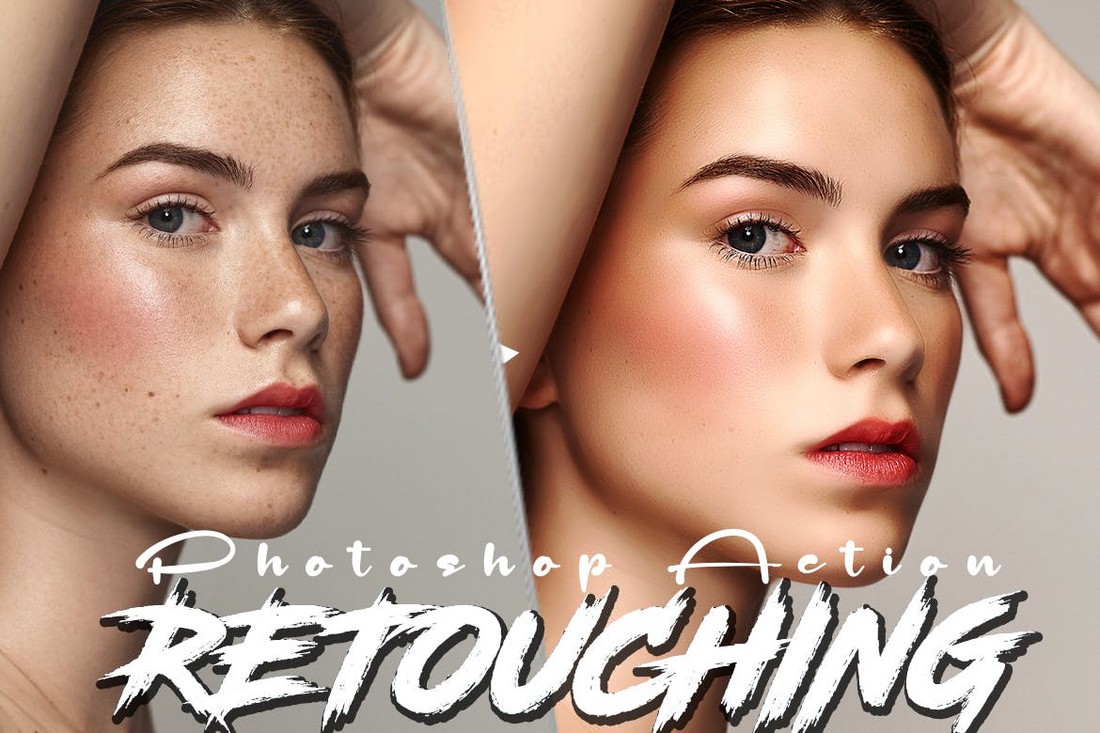
Retouching PS Action + Lightroom Presets
Another retouching Photoshop action you can use to make realistic improvements to your photos. This bundle also includes Lightroom presets for improving portraits.
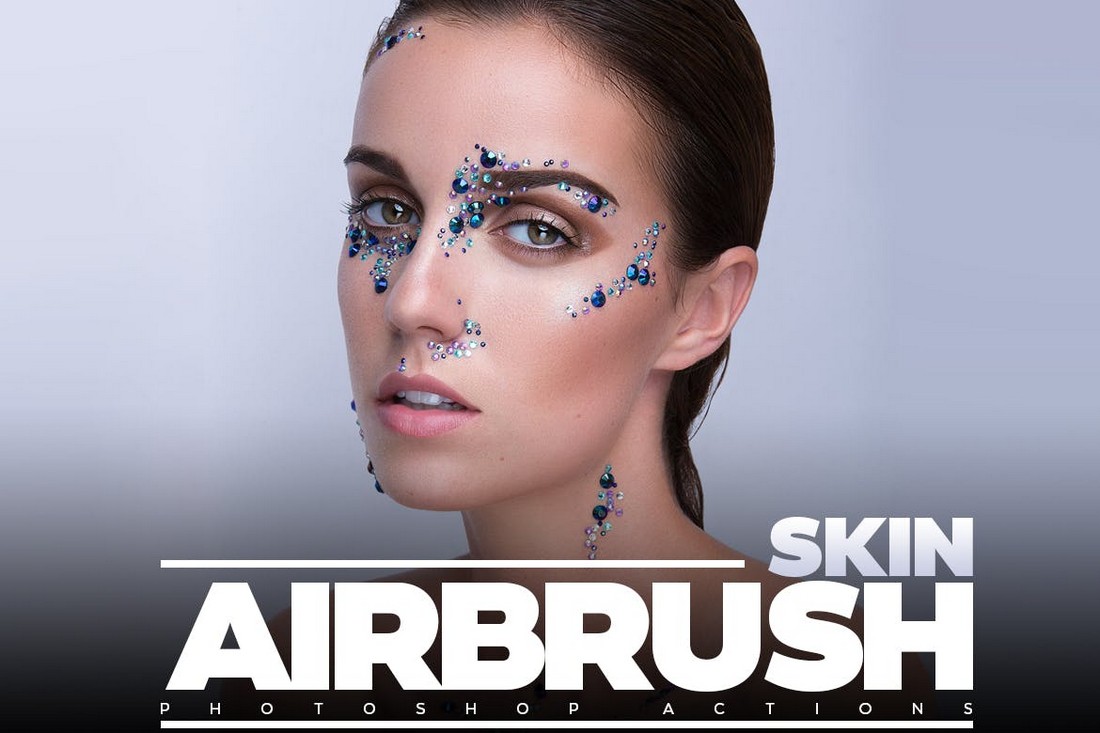
Skin AirBrush Photoshop Actions
This pack comes with 10 different retouching Photoshop actions for improving portraits and airbrushing skin. The actions are compatible with Photoshop CS6 and higher.
For more Photoshop Actions, you can browse our best portrait Photoshop actions collection.
In Conclusion
Hopefully, you’ll be able to retouch photos faster with our teeth whitening trick and Photoshop actions.
If you’re a fan of Lightroom, check out our guide on how to edit portraits in Lightroom to learn more about photo editing.


