There’s no doubt as to the importance of building accessible websites. It’s a constant topic of discussion in the web design community. And, in my opinion, most designers want to get it right.
Accessibility impacts all of us in one way or another. Whether it’s the particular words used in a blog post or the ability to navigate from page to page – it matters.
But if you’re not someone who relies on assistive technology like a screen reader, there can be a disconnect. It’s all too easy to overlook how a given feature affects users. That’s likely because we haven’t tested it in that context.
I admit that I’ve struggled in this area. And I’m betting that there are plenty of other designers who have as well. My privilege as a sighted user who navigates via a mouse hasn’t always led me to consider some important aspects of accessibility.
True, I test with automated tools. I make sure fonts are legible, color contrast meets WCAG standards, and images utilize the ALT attribute. Those are all good things. Yet they don’t represent the full experience of using a website.
So, how do we take things to the next level? Testing your website with a screen reader is a great way to start. Let’s take a beginner’s look at what’s involved. From there, I’ll share what I found during my experimentation.
Find a Screen Reader App
The first step in the process is to find a suitable screen-reader app. You may not have to go very far, as some operating systems include one by default.
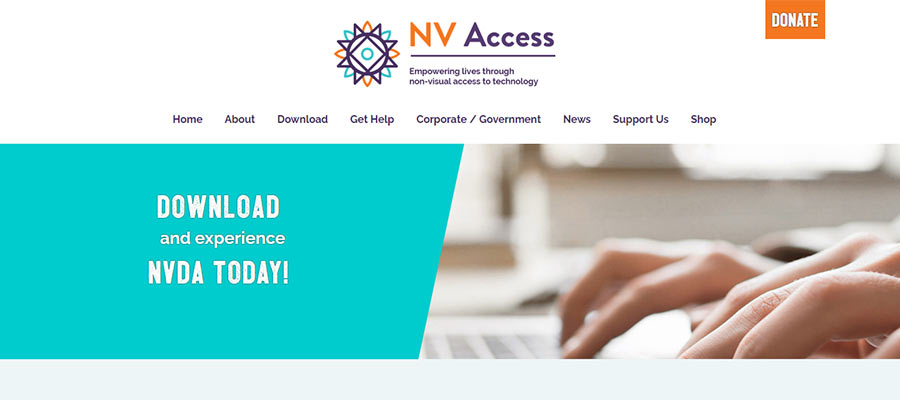
Mac users have access to VoiceOver, while Windows folk can tap into Narrator. In addition, there are several other options available for virtually every OS. For my part, I’m going with the open-source app NVDA. It’s free to use (supported by donations) and is among the more popular choices.
Regardless of the app you choose, it’s important to have a basic understanding of how it works. In addition, there may be a need to make a few tweaks beforehand. For example, you’ll want to make sure that you can understand what is being read. You might also want the software to highlight content as it is read, making it easier to follow along.
WebAIM has put together some handy guides for setting up various screen readers for testing purposes. They’ll put you in a good position to see just how accessible your website is.

Getting Around
Now that you have a trusty screen reader at the ready, it’s time for testing! To get a taste of the user experience, try going through the various parts of your website via a keyboard with the screen reader enabled.
Some keyboard commands are more universal than others. For instance, the TAB key will take you to various links and form controls, while ENTER will take you to a link’s destination. Most seem to use the arrow keys to move from line to line.
However, there may be some special commands that are specific to a screen-reader app. They allow for navigating between headings, landmarks such as headers and footers, etc. For that, you’ll want to check out its documentation.
It’s also worth noting that it takes practice to effectively navigate a website this way. The first few tries can be a bit awkward. But once you get the hang of the various commands, things should become more intuitive.

My Experience with a Screen Reader
Just to clear the air – I’m not an expert screen reader user. My knowledge is rudimentary at best. But my experience with NVDA has been enlightening.
I used a few pages of my business website as the testing ground. And what I found weren’t necessarily major flaws. The text could be read and the site could be navigated.
Rather, I discovered some annoyances – things that would understandably frustrate users. Let’s review a few examples:
A Slider That Interrupts
In an interview with accessibility expert Taylor Arndt, she mentioned carousels/slideshows as features that can hurt accessibility. Testing with a screen reader brings that to the forefront.
The automated carousel I used was navigable but had a nasty habit of announcing itself each time the next slide came into view. That made it very difficult for the screen reader to get very far into other sections of the page before being interrupted.
I found a simple enough fix. The WordPress slider plugin I utilize (Soliloquy) has an option to change the ARIA live region to a less aggressive setting. This, coupled with using manual navigation for the carousel, got rid of the nuisance.
Repetitive Text
Using the ALT attribute with images is a common piece of accessibility advice. But for purely-decorative images, providing descriptive text can be redundant. I ran into this on a few different occasions.
Blog post listings were the main culprit. Both the post title and featured image ALT attributes were identical – meaning the screen reader read them twice. The result is that even a relatively short post listing makes for a painful UX.
The sticking point is that the WordPress post listings block I used doesn’t have an option for leaving empty ALT attributes. Thus, a workaround may be required.

Discover How Website Accessibility Works in Practice
Building websites that adhere to WCAG standards feels satisfying – and it’s what we’re supposed to do as web designers. But checking off boxes on a to-do list doesn’t tell the full story.
Getting a better understanding of how others will experience your work requires a little extra effort. Testing with a screen reader provides a path for gaining more insight. And while this is by no means a complete guide, I hope it helps to pique your interest and experiment.
As I found, even if an item is considered to be accessible by the letter of a standard, that doesn’t mean it’s easy to use. This is why it pays to dig a little deeper. It may be the difference between a site that’s merely usable or one that provides the best possible experience.
Note: As mentioned above, I’m a novice when it comes to this technology. If you have screen reader tips to share, feel free to reach out to me via Twitter.
The post How to Start Testing Your Website with a Screen Reader appeared first on Speckyboy Design Magazine.
