
Curved text in PowerPoint is a stylistic feature that allows users to display text along a curved path, such as an arc, circle, or custom shape. This creative text formatting technique adds visual interest, helps break away from traditional linear layouts, and can enhance the overall design of a presentation.
To create curved text, you can use PowerPoint’s WordArt or text-on-a-path features. These options enable you to customize the curve, adjust the text’s position, and apply various formatting options like font type, size, and color, resulting in a unique and engaging slide design.
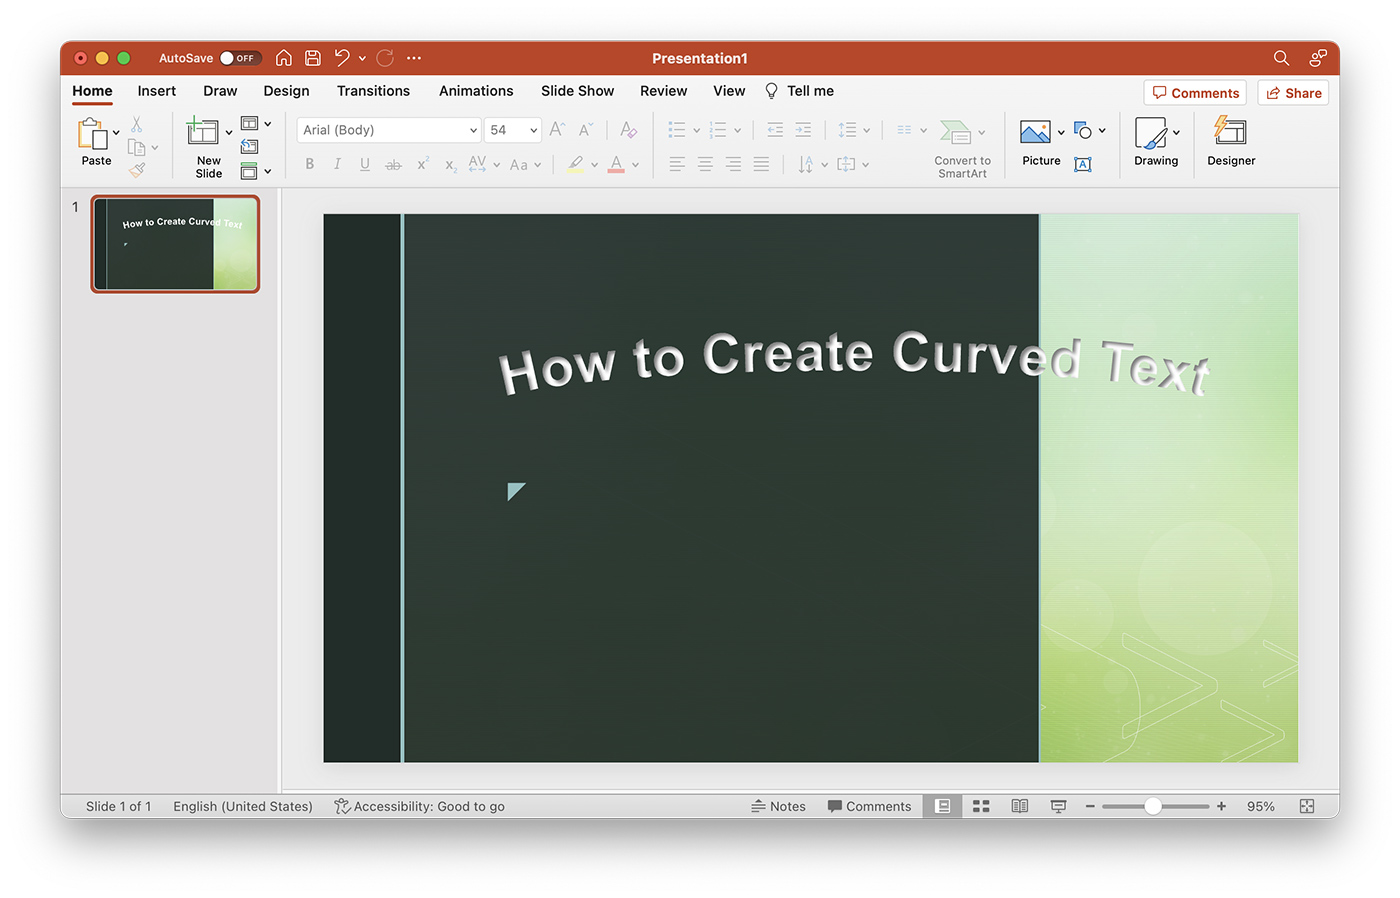
This article will guide you through the process of curving text in PowerPoint using WordArt and the text effects available in the software.
Create Curved Text Using WordArt
The easiest way to curve text in PowerPoint is by using WordArt, which allows you to apply various text effects, including curving and warping.
- Open your PowerPoint presentation and navigate to the slide where you want to add curved text.
- Click on the “Insert” tab in the PowerPoint toolbar.
- In the “Text” group, click on “WordArt.”
- Select a WordArt style from the drop-down menu.
- Type your desired text in the WordArt text box that appears on the slide.
- Click on the text to select it, and then click on the “Format” tab that appears under “Drawing Tools” in the toolbar.
- In the “WordArt Styles” group, click on the “Text Effects” button (represented by a blue, green, and red letter A).
- Select “Transform” from the drop-down menu, and choose one of the curved options under “Follow Path” or “Warp.”
- Adjust the size, position, and orientation of the curved text as needed.
Customize Your Curved Text
After you have created your curved text using WordArt, you can further customize its appearance with additional formatting options.
Change the Font and Size
To modify the font and size of your curved text:
- Select the curved text by clicking on it.
- Click on the “Home” tab in the PowerPoint toolbar.
- Use the “Font” drop-down menu to choose a different font, and the “Font Size” menu to adjust the text size.
Modify Text Color and Fill
To change the color and fill of your curved text:
- Select the curved text by clicking on it.
- Click on the “Format” tab under “Drawing Tools” in the toolbar.
- In the “WordArt Styles” group, use the “Text Fill” and “Text Outline” options to change the text color, fill, and outline.
Add Additional Text Effects
You can also apply other text effects to your curved text, such as shadows, reflections, and 3D effects:
- Select the curved text by clicking on it.
- Click on the “Format” tab under “Drawing Tools” in the toolbar.
- In the “WordArt Styles” group, click on the “Text Effects” button, and explore the various options available under “Shadow,” “Reflection,” “Glow,” “Bevel,” and “3-D Rotation.”
Conclusion
Curving text in PowerPoint can add a unique and creative touch to your presentation. By using WordArt and the text effects available in PowerPoint, you can easily create and customize curved text to enhance your slides and capture your audience’s attention.