
If you are showing information in chronological information, you might need to know how to make a timeline in PowerPoint to communicate most effectively.
A timeline is primarily used to show information that follows a chronology for a list of events. These milestones can be visualized better in a timeline format, and chronologies can be forward or reversed.
There are a couple of ways to accomplish this. We’ll walk through the uses for PowerPoint timelines, the types of timelines you might use, and how to make them. Let’s get started!
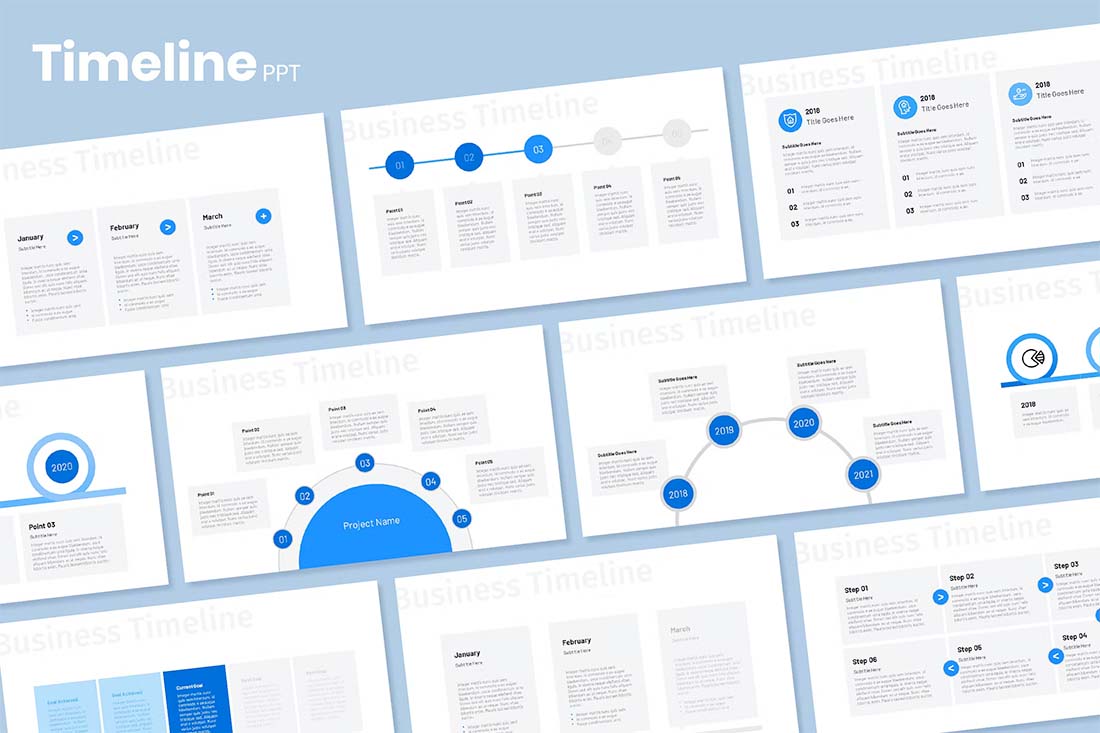
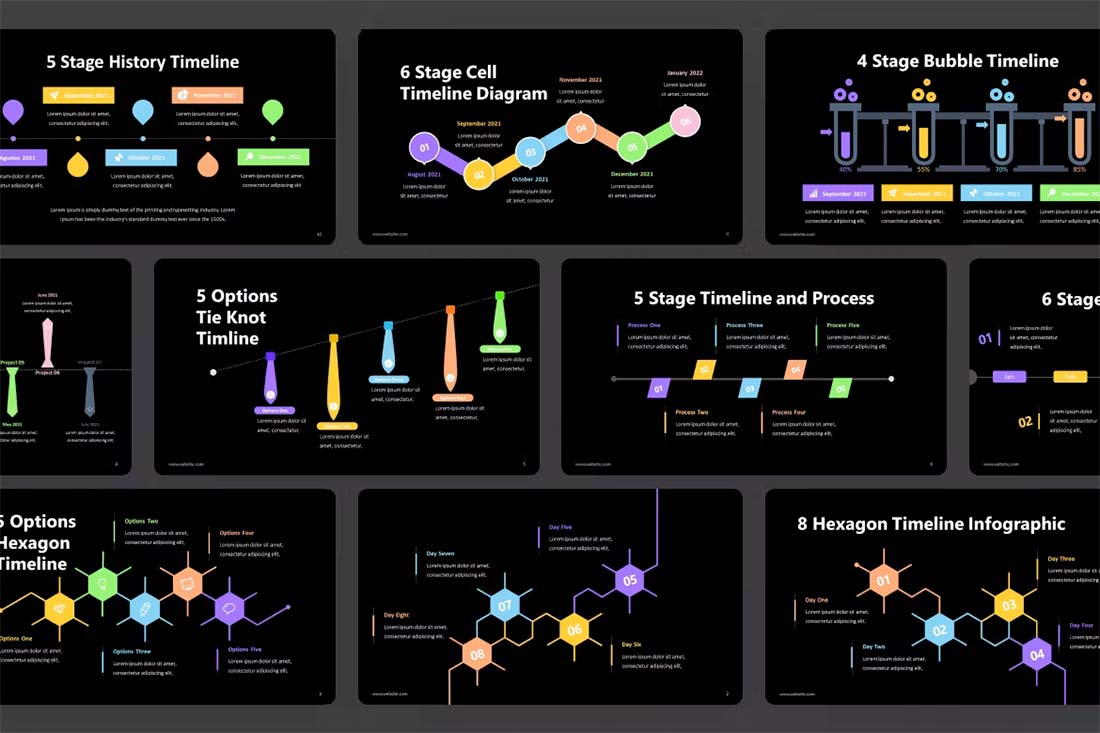
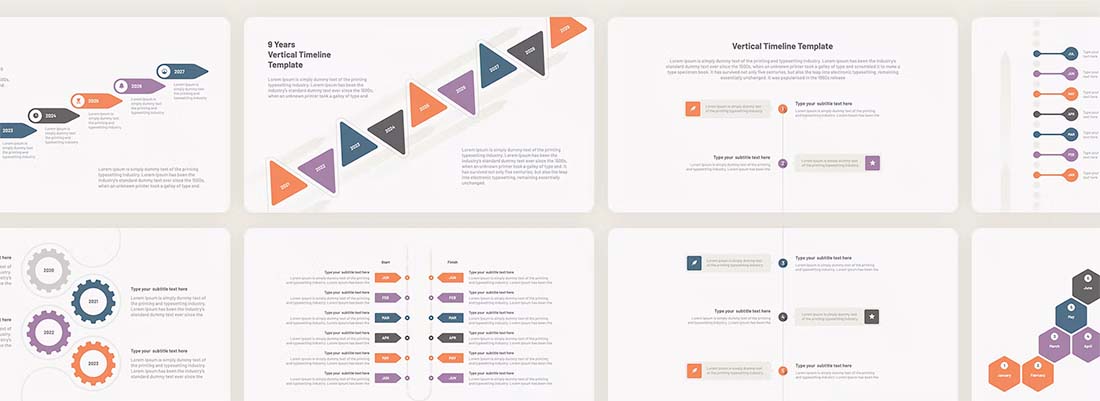
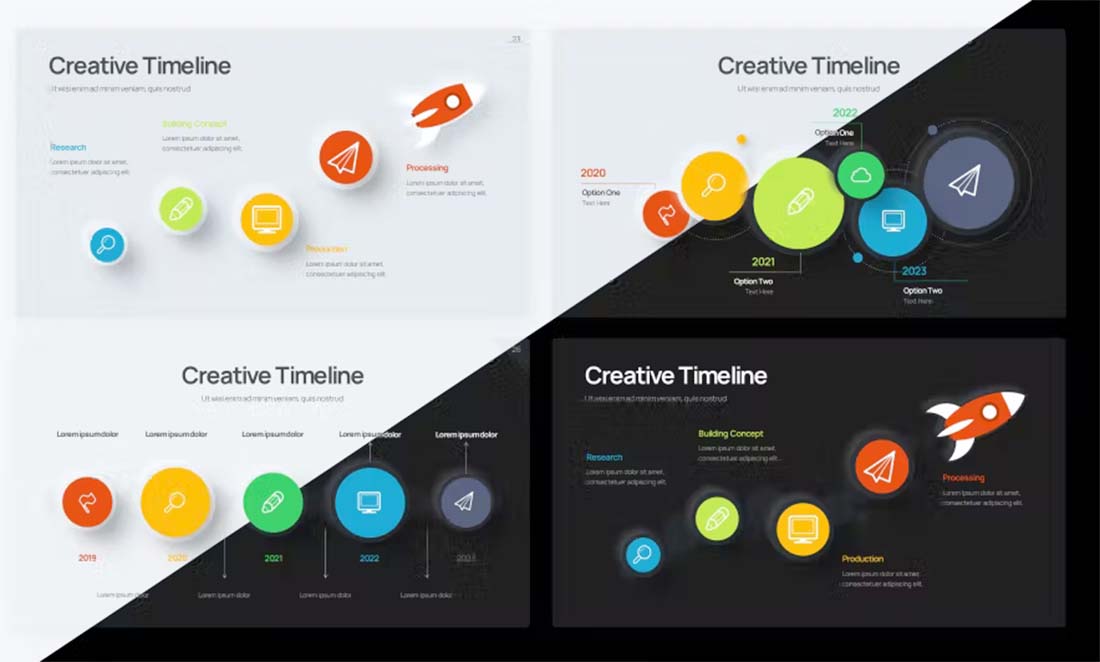
Note: All of the timeline examples here are from Envato Elements and are available to download and use.
Uses for a PowerPoint Timeline
PowerPoint is a great tool for showing timelines because they are an excellent addition to many presentations. PowerPoint is also a commonly used application and allows for the creation of this style of infographic without a lot of other graphic design knowledge.
Timelines are commonly used in business presentations, to show event information, and to highlight milestones in project management.
PowerPoint timelines are also practical for showing notable events or schedules, visualizing business or project plans, explaining the history of a company or project, or almost anything else that is a time-based collection of data and information.
The format and visual style of a timeline can help present information more clearly and concisely. PowerPoint makes it easy to create timelines of any size – from just a couple of milestones to hundreds – with built-in tools or templates for a more custom timeline design.
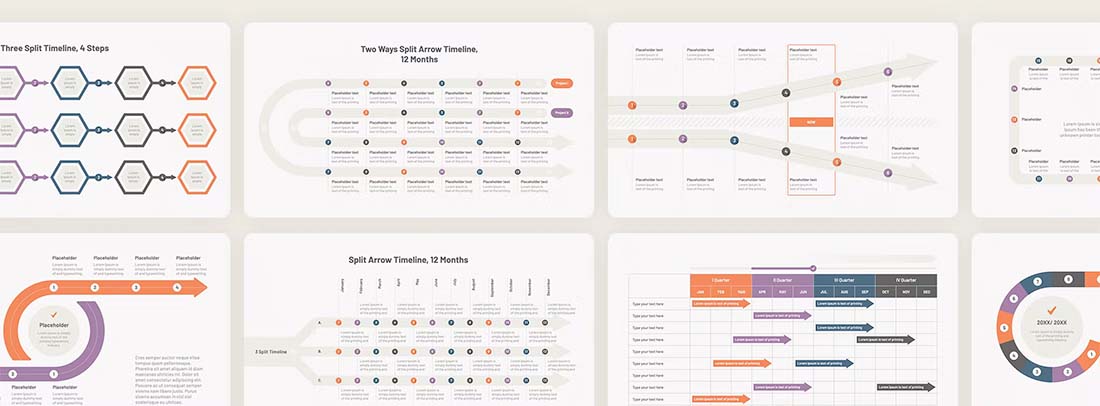
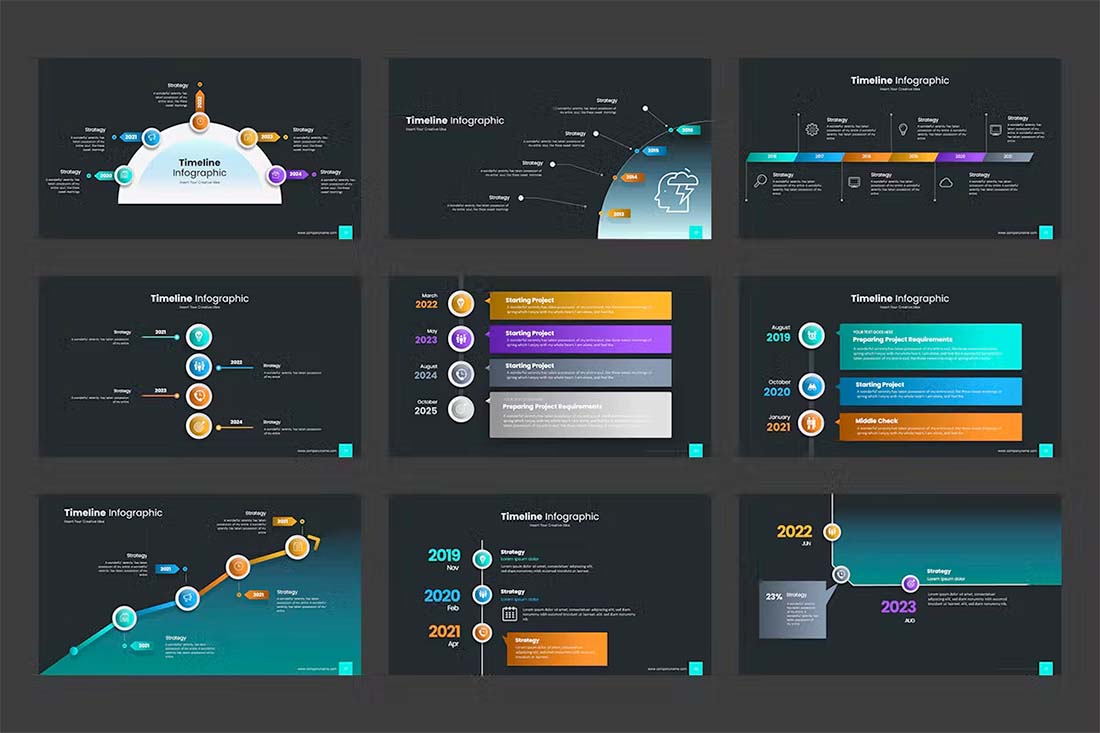
Types of Timelines

When you are learning how to make a timeline in PowerPoint, it’s important to think about the different types of graphics available.
For the most part, timelines break down into four categories:
- Horizontal timeline: Information moves chronologically from left to right
- Vertical timeline: Information moves chronologically from top to bottom
- Roadmap timeline: Information flows on a format that looks like a road with larger to smaller elements to show information; this is often used for milestone-based timelines
- Event timeline: Information is broken into a series of events, sometimes with horizontal and vertical elements to show steps or milestones
How to Make a Timeline in PowerPoint
When you are figuring out how to make a timeline in PowerPoint, you have two options:
- Use timeline tools built right into PowerPoint
- Find a timeline template to start with and customize
For a very basic timeline that you create inside PowerPoint, you can use SmartArt to create a basic timeline. You’ll find it by clicking on the Insert menu, then SmartArt, Process category, and then Basic Timeline.
There are several options for adding sequential data. While you can customize everything, this can be a little cumbersome if you aren’t very comfortable with PowerPoint tools.
Start with a Template
Getting started with a template can make building an org chart a lot easier. A template will give you a visual idea of the type of chart you need, how to arrange elements, and what the design might look like.
Templates allow you to adjust colors, fonts, styles, and branding to suit your organizational needs while providing a ready-made design to jumpstart the project. Many PowerPoint templates, such as the ones featured here, many include multiple design options in the same downloadable file to help you create different versions of your org chart if you need them.
Often these different design styles are made to account for small versus large organizations or elements such as shape, size, or overall look and feel of the chart. They can also show charts of different types because not every organization wants to start with a typical flow chart style.
Choose a Timeline Style for Your Brand and Information
Once you pick out a template, you can match everything in it to your brand and style. The first step is probably to think about the information you are putting on the timeline and the type of graphic representation that might work best.
Then you can start to rework these timeline elements to match your color and font palettes.
Reworking the template to your brand helps you create a timeline that will feel like it belongs to your company and will even encourage you to use it more.
Most PowerPoint templates come with a readme file that will help you understand any intricacies of the design as you customize it. But generally, you can do all of this on the master slides.
Fill in Your Information
Once you have the design set to your style, it is time to pick the slide variation you plan to use for your timeline. The option you choose probably depends on the amount of content you have to work with and the number of stops on the timeline. (Feel free to delete the others.)
Then start filling in your information.
It can be helpful to construct the timeline on paper before you start working in PowerPoint to ensure you have all the elements you need.
Check Your Work
The final step is to edit everything for errors and check for mistakes. It’s a good idea to have someone else look at the timeline for errors in chronology, spelling, and even missing items. (It is challenging to proof your own work.)
Once all the proofing is finished, you can prep the PowerPoint timeline for use digitally or in printing. Add this slide to other presentation decks or export the slide as an image file that you can use in other locations.
The availability of export options from PowerPoint is a solid reason to use this tool when creating a timeline.
Conclusion
Once you learn how to make a timeline in PowerPoint, you’ll be able to level up your presentations with a visually appealing and informational graphic. Whether you create your own or start with a template, timelines can be a great addition to presentations, websites, and business documentation.