
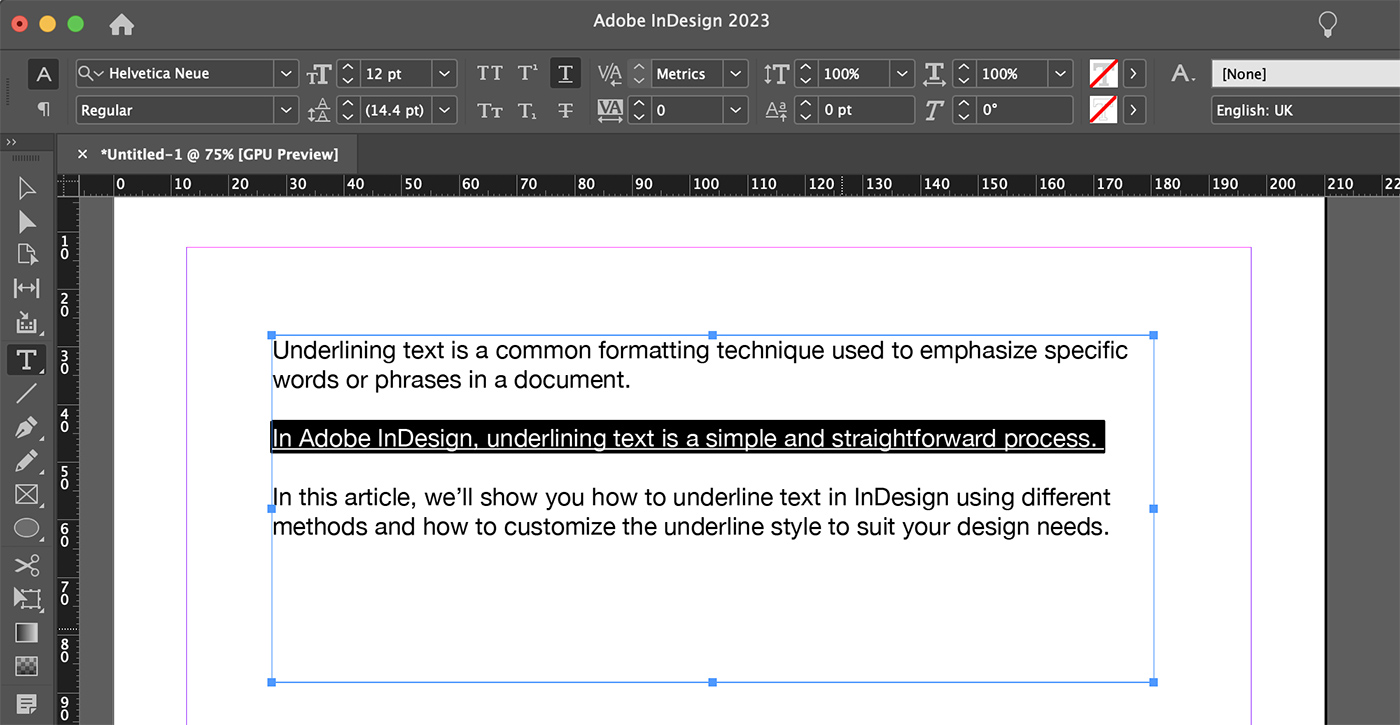
Underlining text is a common formatting technique used to emphasize specific words or phrases in a document.
In Adobe InDesign, underlining text is a simple and straightforward process.
In this article, we’ll show you how to underline text in InDesign using different methods and how to customize the underline style to suit your design needs.
Method 1: Using the Control Panel
The easiest way to underline text in InDesign is by using the Control Panel. Follow these steps to underline text using the Control Panel:
- Select the Type tool (T) from the toolbar or press “T” on your keyboard.
- Highlight the text you want to underline.
- Look for the Underline button (U) in the Control Panel located at the top of the InDesign window.
- Click the Underline button to apply the underline to the selected text.
Method 2: Using the Character Panel
Another way to underline text in InDesign is by using the Character Panel. Here’s how to do it:
- Select the Type tool (T) from the toolbar or press “T” on your keyboard.
- Highlight the text you want to underline.
- Go to the “Window” menu, hover over “Type & Tables,” and select “Character” to open the Character Panel.
- Click the Underline button (U) in the Character Panel to apply the underline to the selected text.
Method 3: Using a Keyboard Shortcut
You can also use a keyboard shortcut to quickly underline text in InDesign. Follow these steps:
- Select the Type tool (T) from the toolbar or press “T” on your keyboard.
- Highlight the text you want to underline.
- Press “Ctrl + U” (Windows) or “Cmd + U” (Mac) to underline the selected text.
Customizing the Underline Style
InDesign allows you to customize the appearance of the underline applied to your text. To modify the underline style, follow these steps:
- Select the Type tool (T) from the toolbar or press “T” on your keyboard.
- Highlight the underlined text you want to customize.
- Go to the “Window” menu, hover over “Type & Tables,” and select “Character” to open the Character Panel.
- Click the flyout menu (three horizontal lines) in the top right corner of the Character Panel.
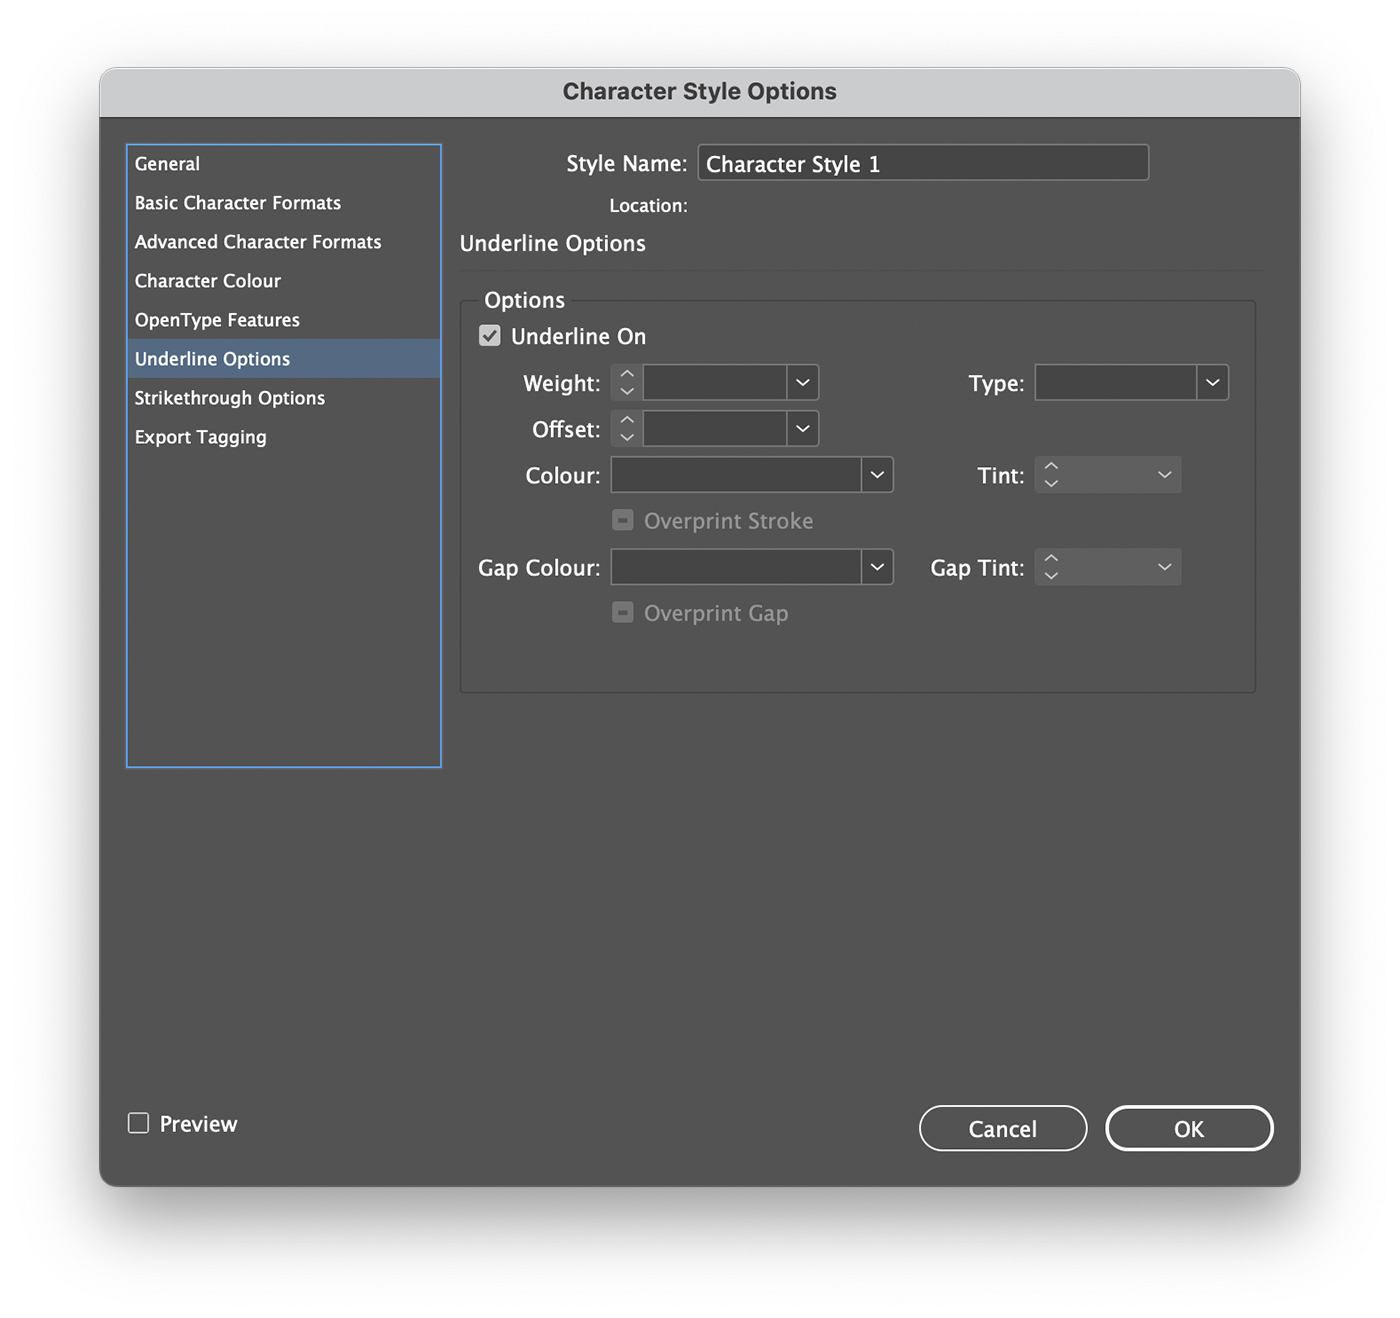
- Select “Underline Options” from the menu to open the Underline Options dialog box.
- Modify the underline settings, such as weight, color, and offset, as desired.
- Click “OK” to apply your custom underline style to the selected text.
4 Tips for Working With Underline Text
Tip 1: Apply Underline Options
To customize the appearance of underlined text in InDesign, select the text you want to modify, and then open the Underline Options dialog box by choosing Type > Underline Options. Here you can adjust the weight, offset, and color of the underline, as well as add other visual enhancements like dashed or dotted lines.
Tip 2: Use Character Styles for Consistency
Create a Character Style specifically for underlined text to maintain consistency throughout your document. To do this, open the Character Styles panel by choosing Window > Styles > Character Styles. Click the New Character Style button, and then define the underline settings in the Underline Options section of the Character Style Options dialog box.
Tip 3: Use GREP Styles for Automatic Underlining
Apply underlines automatically to specific text patterns, like URLs or email addresses, using GREP styles. In the Paragraph Styles panel, edit an existing style or create a new one. Then, navigate to the GREP Styles section and click New GREP Style. Choose the character style you created for underlined text and enter the appropriate GREP expression to target the desired text pattern.
Tip 4: Remove Unwanted Underlines with Find/Change
Quickly remove unwanted underlines from your document using the Find/Change feature. Go to Edit > Find/Change or press Ctrl+F (Windows) or Cmd+F (Mac). In the Find/Change dialog box, switch to the GREP tab. Enter the GREP expression to target underlined text, and then specify the character style without an underline in the Change Format section. Click Change All to apply the changes throughout the document.
Conclusion
Underlining text in InDesign is a simple process, whether you’re using the Control Panel, the Character Panel, or a keyboard shortcut. By customizing the underline style, you can create underlines that perfectly suit your design and emphasize specific elements within your document.
Now that you know how to underline text in InDesign, you can easily apply this formatting technique to your projects.