InDesign is a powerful tool for creating visually stunning layouts, and incorporating images is an essential part of the design process.
In this article, we’ll show you how to insert pictures and images into your InDesign projects, as well as how to manage, resize, and format them for the best results.
We’ll also share four tips on how use clipping paths for images, organise your media more effectively, and use frame fitting options.
Inserting Images Using the Place Command
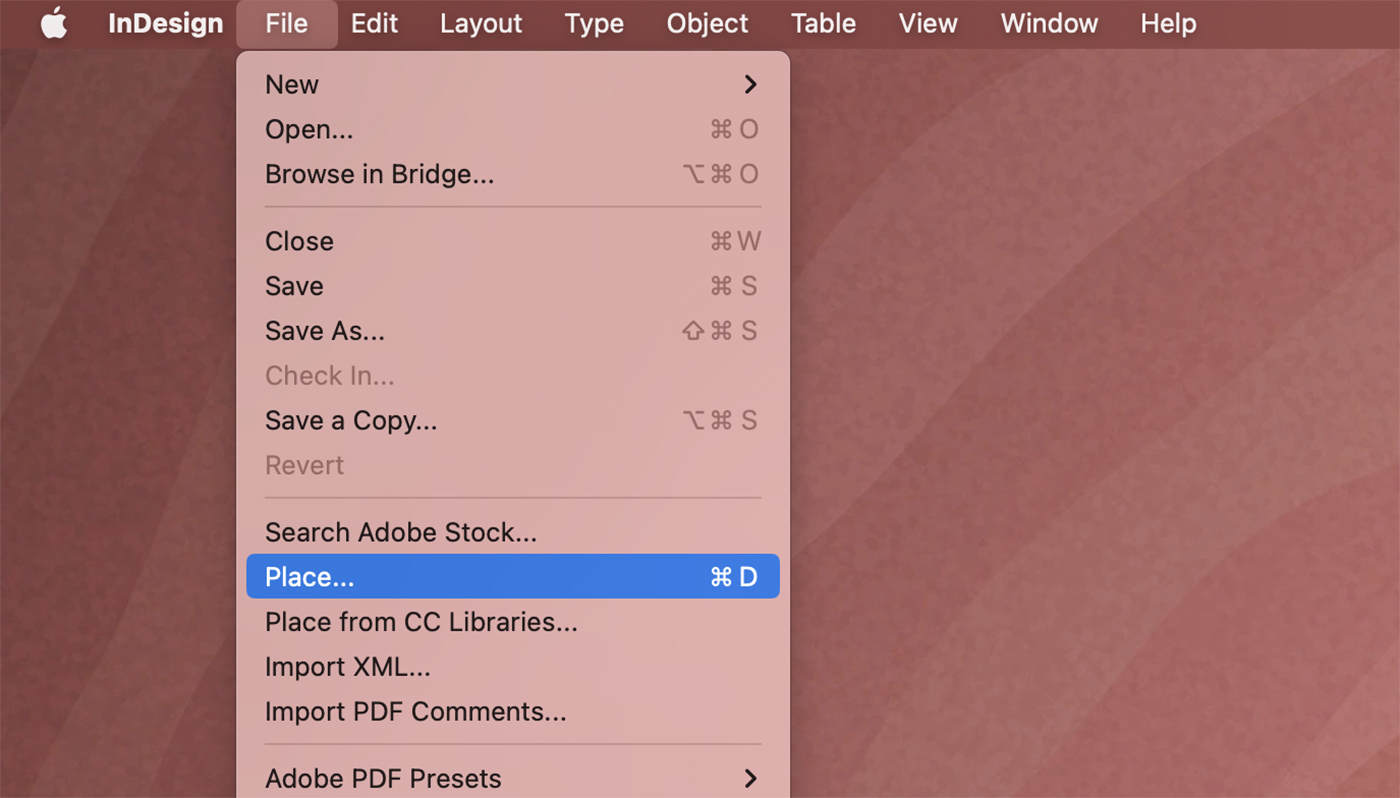
The Place command is the primary method for importing images into InDesign. Follow these steps to insert an image using the Place command:
- Open your InDesign document and navigate to the page where you want to insert the image.
- Go to the “File” menu and select “Place” or use the keyboard shortcut “Ctrl+D” (Windows) or “Cmd+D” (Mac).
- Browse to the location where your image file is saved and click “Open.”
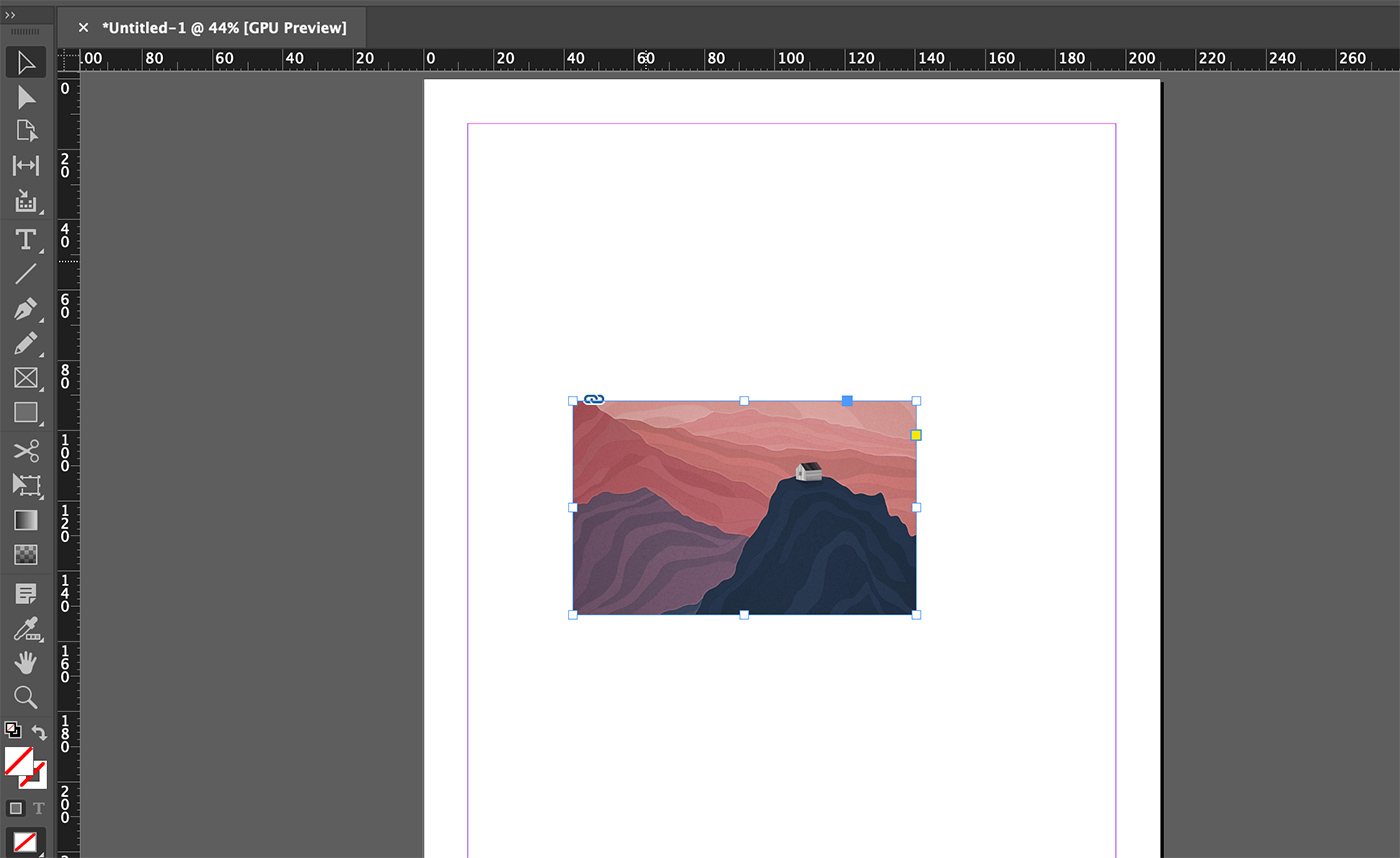
- Your cursor will now be loaded with the image. Click and drag to create a frame that matches the desired size for the image.

Working with Images in InDesign
Once your image is inserted into your document, there are several tools and techniques you can use to manage and manipulate it.
Resizing and Scaling Images
To resize an image in InDesign, follow these steps:
- Select the image frame using the “Selection Tool” (V).
- Click and drag one of the frame’s handles to resize the frame. To maintain the image’s aspect ratio, hold down the “Shift” key while dragging.
- If you want to scale the image proportionally within the frame, select the “Auto-Fit” checkbox in the “Control” panel or the “Properties” panel.

Adjusting Image Fitting Options
InDesign offers several options for fitting images within their frames. To access these options:
- Select the image frame with the “Selection Tool” (V).
- In the “Control” panel or the “Properties” panel, click the “Content Fitting” button to access the fitting options.
- Choose a fitting option from the dropdown menu, such as “Fit Content Proportionally,” “Fill Frame Proportionally,” or “Center Content.”
Formatting Image Frames
You can also format image frames by adding strokes, adjusting corner effects, and applying other visual effects:
- Select the image frame with the “Selection Tool” (V).
- Use the options in the “Control” panel or the “Properties” panel to adjust the stroke width, corner effects, and other formatting settings.
Managing Images in the Links Panel
The Links panel in InDesign helps you keep track of all the images you’ve imported into your document. To access the Links panel, go to “Window” > “Links.” From this panel, you can:
- Update or relink images if their source files have changed.
- View image details such as resolution, color mode, and file size.
- Access the “Edit Original” command to open the image in its native application for further editing.
4 Tips Working With Images In InDesign
Tip 1: Use the Frame Fitting Options
When working with images in InDesign, it’s essential to properly fit them within their respective frames. To do this, right-click on the image frame and select “Fitting” to access the Frame Fitting Options.
You can choose from various fitting options such as “Fit Content Proportionally,” “Fill Frame Proportionally,” or “Fit Content to Frame.” This ensures that your images maintain their aspect ratio and do not appear stretched or distorted.
Tip 2: Maintain Image Resolution
To ensure high-quality print results, it’s crucial to maintain the resolution of your images. InDesign’s Links panel provides information about the resolution of placed images, helping you monitor their quality.
Aim for a resolution of at least 300 PPI for print projects, and use the “Relink” option in the Links panel to replace low-resolution images with their high-resolution counterparts if necessary.
Tip 3: Use Clipping Paths for Complex Image Shapes
When you need to place an image with a complex shape or remove its background, use a clipping path to achieve a clean, professional look. You can create a clipping path in an image-editing software like Adobe Photoshop, then import the image into InDesign.
To apply the clipping path, select the image frame, go to the “Object” menu, choose “Clipping Path,” and select the appropriate path from the dropdown menu. This will help you integrate the image seamlessly into your layout.
Tip 4: Use Libraries to Organize and Access Images
Efficiently manage and access your images by using InDesign’s Libraries feature. You can create libraries to store and organize your images, making it easy to locate and use them in multiple documents.
To create a new library, go to the “File” menu and choose “New > Library.” You can then drag and drop images from your computer or existing InDesign documents into the library for easy access and reuse. This helps streamline your workflow and maintain consistency across your projects.
Conclusion
Incorporating images into your InDesign projects is an essential aspect of creating visually engaging layouts. By using the Place command and utilizing the various image management and formatting tools available, you can achieve the desired look and feel for your designs.
By mastering these techniques, you’ll be well on your way to creating professional and visually appealing documents in InDesign. So, go ahead and experiment with different images, fitting options, and frame formatting settings to bring your creative vision to life.
